Fixing a ceiling fan switch means replacing the internal pull chain or speed control switch, not just reattaching a broken cord. Most homeowners discover this the hard way after a quick tug sends the chain snapping flush into the housing. The repair is a genuine 15-minute job when you have the right replacement part and follow proper safety steps. Myhandymanbuddy recommends shutting off power at the circuit breaker and verifying zero voltage before touching any internal wires, every single time.
How to fix a ceiling fan switch safely: tools and precautions
Safety is the first step, not an afterthought. Safety protocols require shutting off the circuit breaker and confirming zero current with a non-contact voltage tester before you touch any internal wiring. Skipping this step turns a simple repair into a serious electrical hazard.
Gather these tools before you climb the ladder:
- Non-contact voltage tester to confirm power is off
- Flathead and Phillips screwdrivers for housing panels
- Needle-nose pliers to grip small wires in tight spaces
- Wire strippers if you need to expose fresh copper
- Wire nuts to secure reconnected wires
- A stable ladder rated for your weight plus tools
- Safety glasses to protect against dust and debris
Wire color standards are not consistent across fan brands. Wiring varies by brand and model, so relying on color alone to reconnect wires is a common mistake that leads to failed repairs or reversed functions.
Pro Tip: Before you disconnect a single wire, take a clear photo of the existing wiring with your phone. That photo is your map back to correct reassembly, and it takes five seconds.
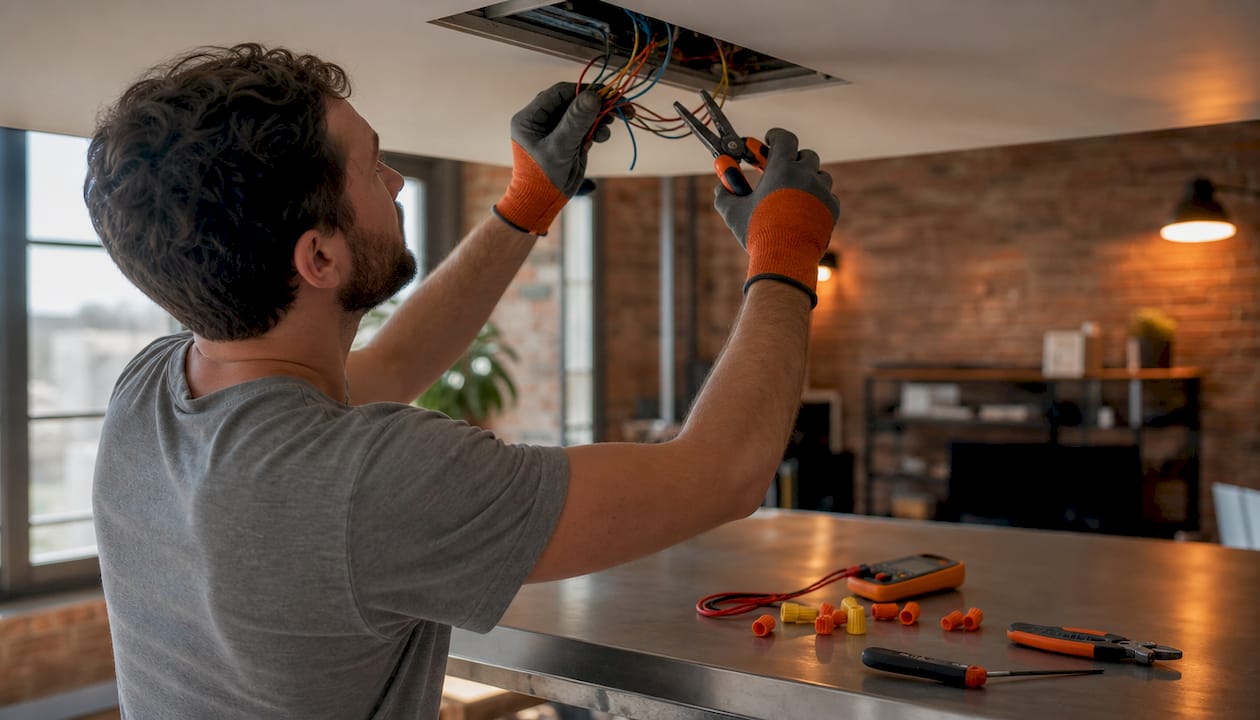
Step-by-step guide to replacing a pull chain switch
Replacing the internal switch restores the mechanical click and reliable function that no amount of glue or cord reattachment can replicate. Follow these steps in order.
-
Shut off the breaker. Go to your electrical panel and flip the breaker for the room. Do not rely on the wall switch alone. Confirm power is off with your voltage tester at the fan’s wiring.
-
Remove bulbs and light globes. Set them aside safely. You need clear access to the light kit housing, and glass globes break easily when bumped by a screwdriver.
-
Detach the light kit housing. Most housings unscrew from the fan body with two or three screws. Lower the housing carefully and let it hang or rest on a stable surface.
-
Photograph the existing wiring. Do this before touching anything. Note wire colors, positions, and how they connect to the old switch.
-
Locate and remove the pull chain switch. The switch is a small plastic or metal component with wires attached and a threaded collar that screws through the housing wall. Unscrew the collar nut from outside, then push the switch body inward to free it.
-
Disconnect the old switch wires. Unscrew the wire nuts and separate the connections. Count the wires carefully. A light switch typically uses 2 wires. A fan speed switch uses 3 or 4 wires.
-
Match and install the replacement switch. Match the replacement by wire count and electrical rating printed on the switch body, such as 3A-250VAC or 6A-125VAC. Connect the new switch wires using wire nuts, matching your photo exactly.
-
Reassemble the housing. Thread the new switch collar through the housing hole, tighten the nut, and reattach the housing to the fan body.
-
Restore power and test. Flip the breaker back on. Pull the chain and confirm the light or fan speed cycles correctly through all positions.
Pro Tip: If the replacement switch feels loose in the housing hole, the collar diameter may not match. Always bring the old switch to the hardware store or check the part number before buying.
Troubleshooting common ceiling fan switch problems
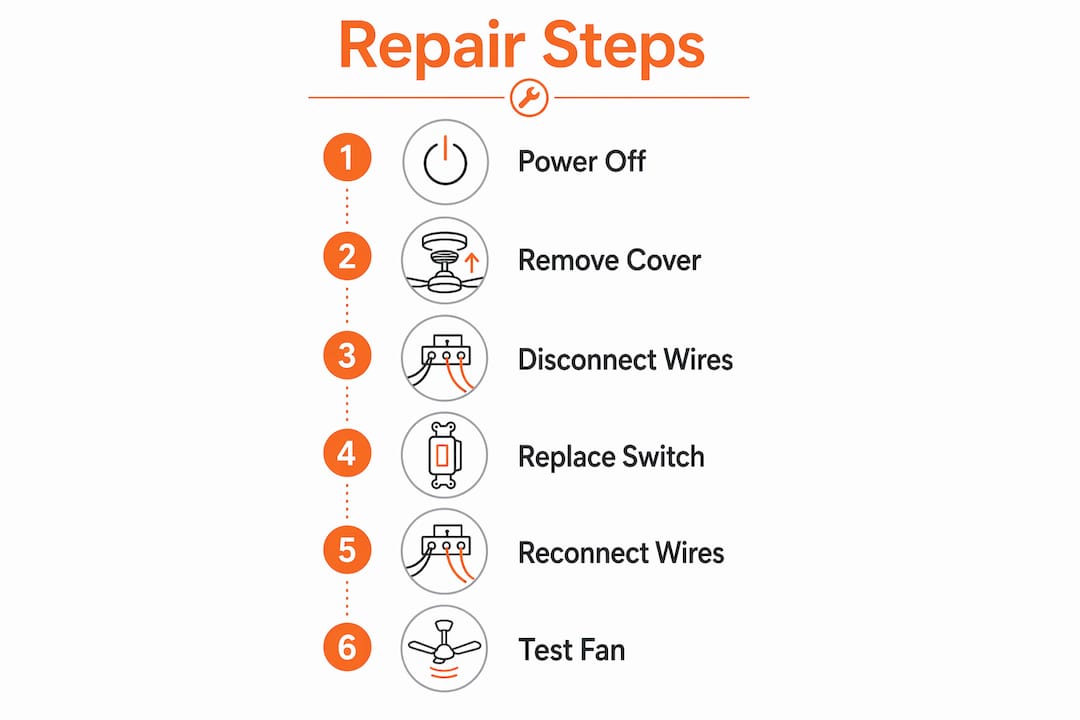
Not every ceiling fan problem points to the switch. Fan humming without spinning often signals a failed capacitor or a mechanical jam, not a faulty pull chain switch. Replacing the switch in that scenario wastes time and money.
Watch for these specific signs before you commit to a switch replacement:
- Clicking with no response: The chain clicks through positions but nothing turns on or changes speed. Oxidized internal contacts cause this. Full switch replacement is the only fix.
- Chain snapped flush with the housing: Reattachment is impossible when the chain breaks inside the ratcheting mechanism. The entire switch must come out.
- Fan runs on one speed only: This points to a failed speed switch, not the light switch. These are separate components inside the fan.
- Light flickers but fan runs fine: Check the bulb wattage first. High-wattage bulbs can trip a thermal limiter inside the light kit, which is a separate issue from the pull chain switch entirely.
A thorough diagnosis before any disassembly saves you from replacing parts that were never broken. Ceiling fans have multiple failure points, and the switch is just one of them. Confirm the symptom matches the component before you buy anything.
Wiring mistakes are the most common cause of repeat failures. Wire color documentation before disassembly prevents crossed connections that reverse fan direction or disable the light entirely. Label wires with tape if your photo is unclear.
What switch types do ceiling fans use?
Ceiling fans use two distinct switch types, and confusing them causes failed repairs. The light kit uses a simple 2-wire on/off pull chain switch. The fan motor uses a multi-speed switch with 3 or 4 wires that cycles through high, medium, low, and off positions.
| Switch type | Wire count | Typical rating | Function |
|---|---|---|---|
| Light pull chain switch | 2 wires | 6A-125VAC | On/off for light kit |
| 3-speed fan switch | 3 wires | 3A-250VAC | High, medium, low, off |
| 4-wire fan switch | 4 wires | 3A-250VAC | Extended speed range |
Electrical ratings on the switch body are printed directly on the component. Match both the wire count and the amperage/voltage rating to avoid overheating. A switch rated too low for the load creates a fire risk over time.
Universal replacement switches exist at most hardware stores, but they do not fit every fan. Some older or imported fans use non-standard collar diameters or proprietary wire configurations. When a universal switch does not fit, search for the fan’s model number on the manufacturer’s website or contact a parts supplier directly. Matching switch type and ratings is the single most important step in the entire repair process.
Key Takeaways
Fixing a ceiling fan switch requires the correct replacement part, a power shutoff at the breaker, and accurate wire reconnection based on a photo taken before disassembly.
| Point | Details |
|---|---|
| Safety first, always | Shut off the circuit breaker and verify zero voltage before touching any wiring. |
| Photo before disassembly | Photograph all wiring connections before disconnecting to avoid rewiring errors. |
| Match the replacement exactly | Check wire count and electrical rating (e.g., 3A-250VAC) on the old switch body. |
| Diagnose before replacing | Humming without spinning often signals a capacitor issue, not a faulty switch. |
| Internal breaks need full replacement | A chain snapped flush inside the housing cannot be reattached; replace the whole switch. |
Why I always say: diagnose first, replace second
Most homeowners I talk to have already bought a replacement switch before they fully understand what failed. That instinct makes sense. The switch is cheap, the repair looks simple, and the pull chain is obviously broken. But ceiling fan issues are genuinely multifaceted, and the switch is only one of several failure points.
I have seen fans returned to service by simply tightening a loose wire nut, with no new parts needed at all. I have also seen homeowners replace a switch three times because the real problem was a failing capacitor the whole time. The diagnosis step is not optional. It is the repair.
The wiring photo habit is the single most underrated practice in DIY electrical work. Wire colors are not standardized across fan brands, and a confident reconnection based on memory alone fails more often than you would expect. Thirty seconds with your phone camera eliminates that entire category of error.
For older homes with aluminum wiring or fans wired before current codes, I always recommend calling a professional. The ceiling fan repair and installation team at Myhandymanbuddy handles exactly these situations, where the wiring history is unclear and the stakes are higher than a standard swap. DIY confidence is earned through preparation, not speed.
When Myhandymanbuddy can handle it for you
Ceiling fan switch repairs are manageable for most homeowners when the wiring is straightforward and the fan is accessible. When the wiring looks unfamiliar, the fan is mounted on a high vaulted ceiling, or the repair reveals older electrical work that does not meet current standards, professional help is the right call.

Myhandymanbuddy offers ceiling fan installation and repair services built for exactly these situations. Their technicians handle switch replacements, full fan installations, and light electrical work with the same attention to safety and code compliance. If you are in the Mesa or Tempe area, a licensed electrician from Myhandymanbuddy can diagnose and fix the problem the same day. Reach out through their 24/7 support line for a fast, reliable fix that lasts.
FAQ
How long does it take to replace a ceiling fan switch?
Replacing a pull chain switch takes roughly 15 minutes when you have the correct replacement part and the right tools ready before you start.
Can I fix a ceiling fan switch without an electrician?
Yes, most homeowners can replace a pull chain switch safely by shutting off the breaker, verifying zero voltage, and matching the replacement switch to the original wire count and electrical rating.
Why does my ceiling fan click but not turn on?
Clicking without function indicates oxidized or failed internal contacts inside the switch. The switch must be fully replaced since the internal mechanism cannot be repaired.
What is the difference between a 2-wire and 3-wire ceiling fan switch?
A 2-wire switch controls the light kit with a simple on/off function. A 3-wire switch controls fan motor speed and cycles through high, medium, low, and off positions.
How do I know if my ceiling fan problem is the switch or the capacitor?
If the fan hums but does not spin, the capacitor is the likely cause. If the pull chain clicks through positions with no response from the light or fan speed, the switch has failed internally.
